
Home › Services › Chimney Flashing Installation
Chimney Flashing Installation Seattle, WA
New step, counter and cricket flashing installed correctly on chimneys across Seattle, Tacoma and King, Pierce and Snohomish counties.
- 25+ years in business
- CSIA certified
- Licensed, bonded & insured
Request Chimney Flashing Installation
Tell us what's going on — we'll confirm a time by phone or text.
Chimney flashing installation is the job of building a complete, two-part metal seal where your chimney passes through the roof: step flashing woven into the shingle courses, counter flashing cut into the masonry above it, and a cricket behind the chimney when it is wide enough to dam water. It is the right service when a chimney has no real flashing at all, when the roof has just been replaced or is about to be, when a chimney has been added or rebuilt, or when what is up there is only a bead of caulk and a strip of sheet metal laid on top of the shingles.
This is different from our chimney flashing repair service, which patches or reseals an existing flashing system that is mostly sound, and from chimney flashing replacement, which removes a failed system and puts in a new one on an existing roof. Installation is about designing and building the system from scratch, usually in coordination with a roofer, so there is nothing to patch later.
James Chimney Sweep has served Seattle and the Puget Sound for more than 25 years. We are CSIA certified and licensed, bonded and insured in Washington, and we work from our office at 6234 S 119th St in Seattle.
Symptoms & Problems
Signs your chimney needs flashing installed, not just patched
- A new roof was installed and the roofer left the old flashing or simply caulked around the chimney
- A newly built or rebuilt chimney with bare brick meeting the shingles
- Flashing that is one flat piece of metal surface-mounted with sealant instead of cut into the mortar joints
- No step flashing visible under the shingle edges along the chimney sides
- A wide chimney on the uphill side of the roof with no cricket, where leaves and water collect
- Roofing cement or tar smeared around the base of the chimney as the only water barrier
- Water stains on the ceiling or attic framing near the chimney after the first heavy rain of a new roof
- A roofer or home inspector noted that the chimney flashing is missing or improvised
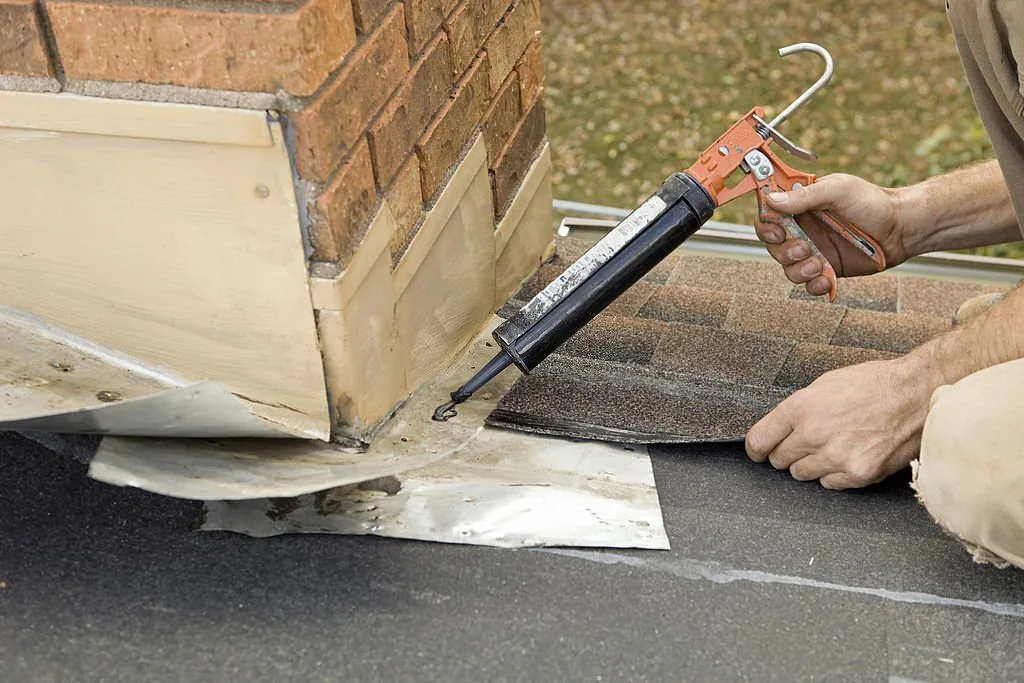
How It Works
How we install chimney flashing
Inspect the chimney and roof junction
We look at the chimney from the roof and the attic, measure its width and position relative to the roof slope, check the condition of the brick and mortar joints where counter flashing will be set, and note whether a cricket is needed. If a roofer is involved, we coordinate timing so the step flashing goes in with the shingle courses rather than after.
Build the flashing system
Step flashing is installed one piece per shingle course along the sides, with apron flashing at the front and a back pan or cricket behind the chimney. We cut a reglet into the mortar joints with a grinder, bend and set counter flashing into that cut, and lock it with mortar or a masonry sealant rated for the joint. Corners are folded or soldered rather than left open and caulked.
Water-test and document
We check every lap and corner, confirm the counter flashing overlaps the step flashing by a proper margin, and photograph the finished work so you and your roofer have a record. We explain what to watch for and when to have it looked at again.
Options
Flashing installation options
- Full step and counter flashing system — the standard for any chimney that has no flashing or only surface-mounted metal; step flashing under the shingles plus reglet-cut counter flashing in the masonry.
- Cricket or saddle behind the chimney — for chimneys roughly 30 inches wide or more on the uphill side, or any chimney where water and debris visibly pile up behind it. A small peaked structure that splits runoff around the chimney.
- Galvanized steel, aluminum or copper — galvanized steel is the common choice; copper lasts longest and suits older brick homes; aluminum is avoided against fresh mortar because it corrodes.
- Coordinated install with your roofer — we set the counter flashing and cricket while the roofing crew handles shingles and step flashing, or we do the whole junction ourselves depending on how the job is staged.
- Flashing with masonry prep — when the mortar joints where the reglet goes are crumbling, we repoint those courses first so the counter flashing has something solid to lock into.
Pricing
What affects the price
- Chimney size and how many sides need step flashing
- Roof pitch and how steep or high the work area is
- Whether a cricket has to be framed and flashed behind the chimney
- Flashing metal chosen: galvanized steel, aluminum or copper
- Condition of the mortar joints where the reglet is cut and whether repointing is needed first
- Whether the work is coordinated with a re-roof in progress or done on a finished roof
- Roofing material: asphalt shingle, metal, tile or cedar shake
We don't publish flat prices because every chimney is different. You'll get a written quote after we look at the system — no surprises.
Timing & Safety
When flashing installation is necessary and when it can wait
Install now if the chimney has no step flashing, if a re-roof is underway or scheduled, if the only barrier is caulk or roofing tar, or if a wide chimney sits on the uphill slope with no cricket. These are not repairable conditions; there is nothing sound to repair.
- New construction or a rebuilt chimney: install before the first wet season.
- Re-roof in progress: the cheapest time to do it right is while the shingles are off.
- Surface-mounted or tarred flashing: it will fail, usually within a few seasons, and often leaks before it looks bad.
It can usually wait if you already have a proper two-part system that is simply loose at one corner or has a cracked sealant bead. That is a job for our chimney flashing repair service, and if the metal itself is rusted through or pulling out of the brick, our chimney flashing replacement service covers removing the old system and installing new.
Safety considerations
Chimney flashing is a roof job, and we do not recommend homeowners go onto the roof to inspect or attempt it. Wet Seattle shingles and moss are slippery even on low slopes. What you can safely do is check the attic with a flashlight after a hard rain and look at the ceiling near the chimney for stains.
- Cutting a reglet into mortar produces silica dust; our crew uses dust control and respirators.
- We check that the chimney crown and brick above the flashing are sound before installing, since water coming through a cracked crown can mimic a flashing leak.
- If the chimney serves a gas appliance and you ever smell gas, leave the house and call the gas utility or 911. Gas lines and valves are only serviced by a qualified technician.
Seattle & Puget Sound conditions
Seattle averages around 150 rainy days a year, and most of it arrives as long, wind-driven drizzle rather than short storms. That pattern is hard on chimney flashing: water gets pushed sideways under laps and sits there, and surface-mounted flashing that might survive a drier climate fails quickly here. Moss grows on the uphill side of chimneys, holds moisture against the metal and lifts shingle edges, which is a large part of why a cricket matters on Puget Sound roofs. Freeze-thaw cycles in the colder weeks pry open any gap between counter flashing and mortar, and homes near the Sound see salt air that corrodes bare galvanized steel faster than inland. We size laps, choose metal and detail the cricket with those conditions in mind.
Real Work
Chimney Flashing Installation in action
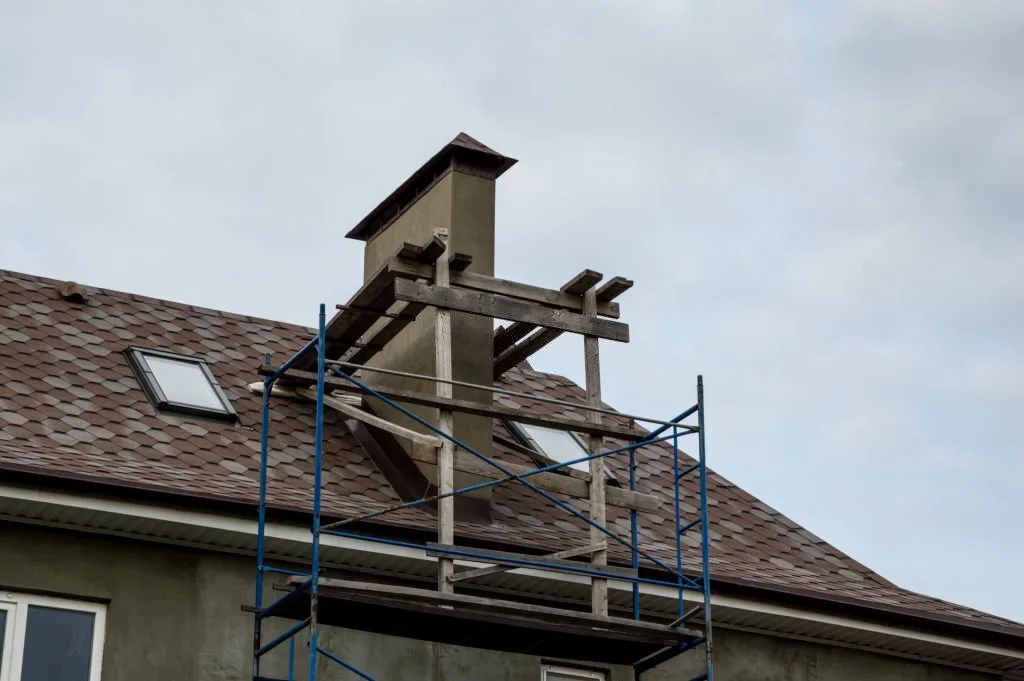
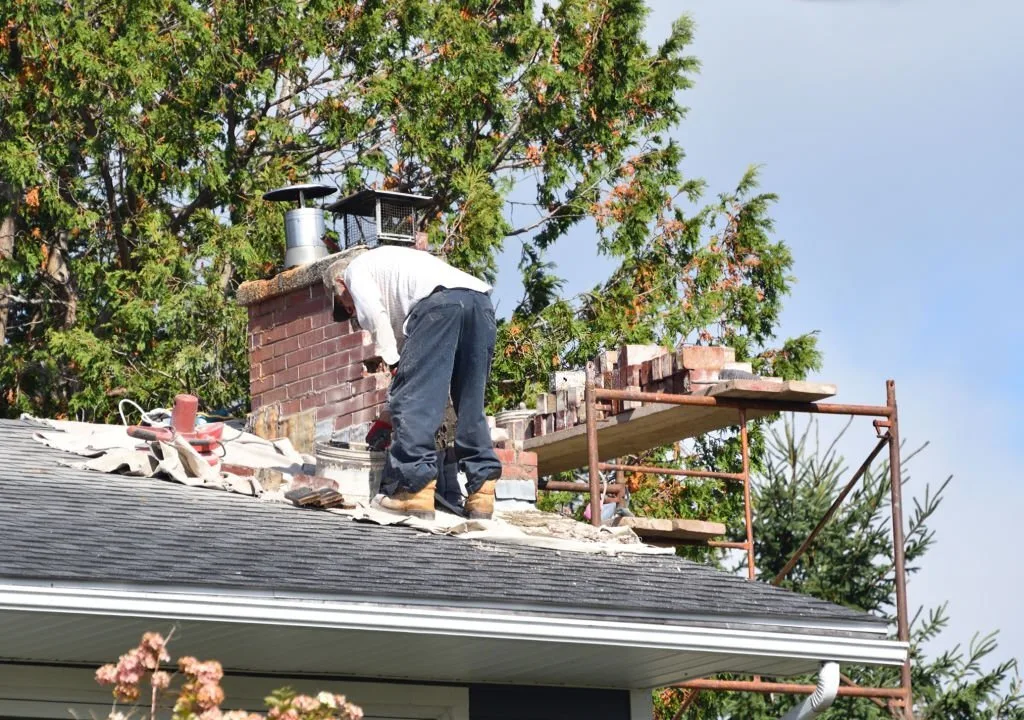
Re-roofing or building a chimney? Get the flashing done right the first time.
Call 206-207-3974 to request a quote for chimney flashing installation anywhere in King, Pierce or Snohomish county.
☎ (206) 207-3974 Request ServiceQuestions
Chimney Flashing Installation FAQ
My roofer says they will handle the chimney flashing. Do I still need you?
Many roofers do good step and apron flashing but stop short of cutting a reglet and setting counter flashing into the masonry, because that is masonry work. Ask your roofer exactly what they will do at the chimney. We are happy to coordinate so the step flashing goes in with the shingles and we set the counter flashing and cricket.
What is a reglet and why does it matter?
A reglet is a groove cut into a horizontal mortar joint above the roof line. The top edge of the counter flashing bends into that groove and is locked in place, so water running down the brick face goes over the metal rather than behind it. Flashing that is simply caulked to the face of the brick has no reglet and relies entirely on the sealant.
Does every chimney need a cricket?
No. A cricket is generally recommended when the chimney is about 30 inches wide or more on its uphill side. Narrower chimneys can use a back pan. In the Puget Sound we lean toward crickets on wide chimneys because of how much debris and moss collects behind them.
Can flashing be installed on a finished roof without re-roofing?
Yes. Step flashing can be woven in by lifting shingle courses along the chimney sides, and the counter flashing and cricket are installed regardless of roof age. It takes more care than doing it during a re-roof, which is why we recommend installing at the same time whenever a re-roof is planned.
Which metal should I choose?
Galvanized steel is the common, durable choice for most Seattle homes. Copper costs more but outlasts everything else and is often chosen for older brick houses. We avoid aluminum in contact with fresh mortar because the alkalinity corrodes it.
How do I know the flashing was installed correctly?
You should see two layers of metal: step flashing tucked under the shingles and a separate counter flashing coming down from a mortar joint and lapping over it. There should be no exposed caulk doing the main job and no roofing tar. We photograph our work so you can see each of those details without going on the roof.
Related services
Service areas
Helpful reading